 (Image via
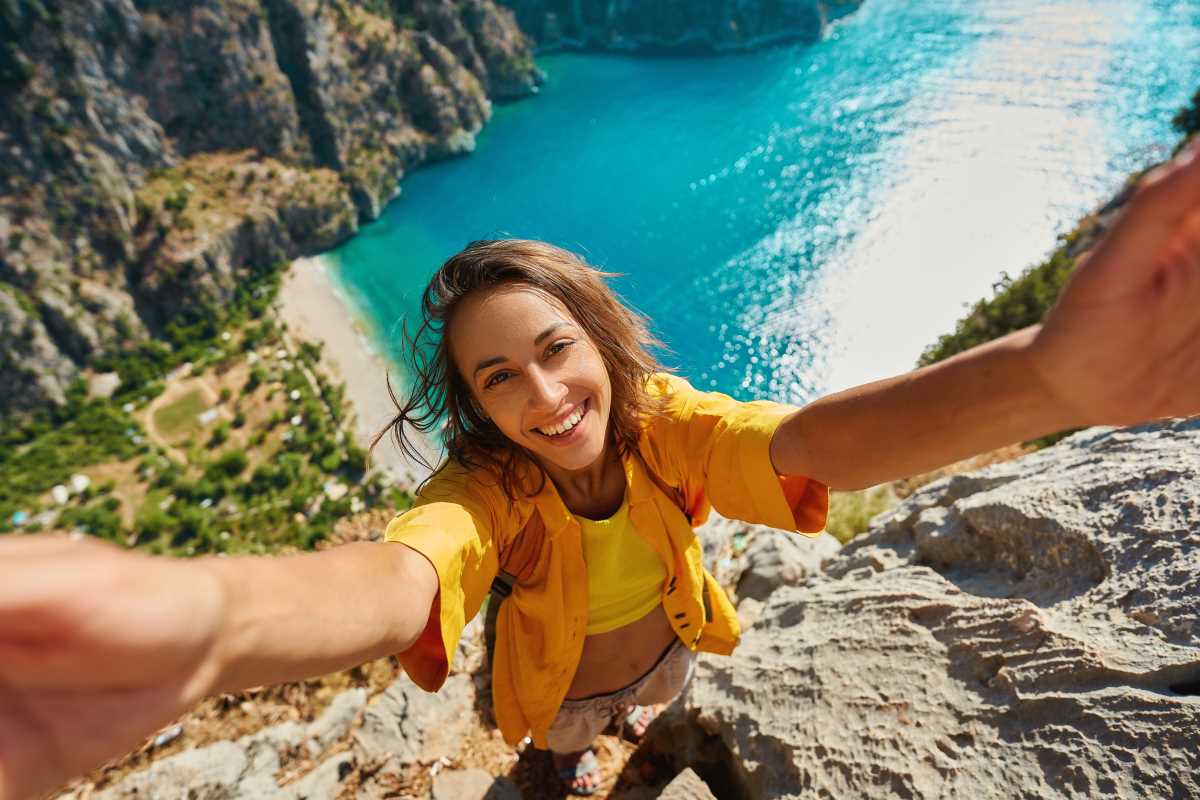
There's something magic in the mountains. As you stand there looking up at some of the highest peaks in the world, you feel more connected to nature. It's a part of you, and you're a part of it. For any photographer, whether amateur or professional, these majestic landscapes provide endless, awe-inspiring opportunities to create truly memorable photos. Blending a vigorous nature walk with the creative act of picture-taking transforms a simple outing into a genuine adventure for the senses. We’ve assembled this comprehensive guide to help you get started on an unforgettable journey. Inside, you’ll discover stunning routes in beautiful, remote places, practical ideas for what equipment to bring, and expert advice for snapping impressive images. Grab your boots and check your batteries because the summit promises a scene you’ll want to capture forever.
Why Combine Hiking and Photography?
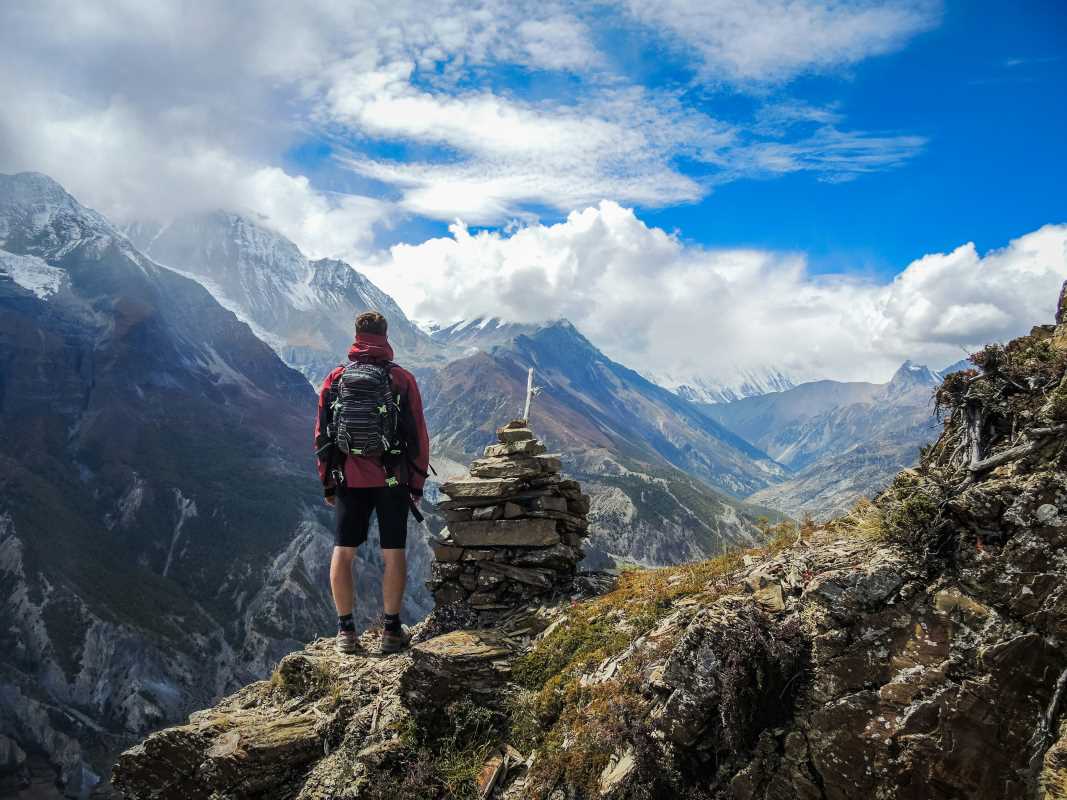
Hiking leads you into areas you simply can’t experience from behind the wheel. Some of the most spectacular sights only come after some effort. Trekking through wild spaces reveals fresh perspectives, untouched scenery, and an atmosphere of calm that gives your snapshots extra depth. Moving at a slower pace, you notice how sunlight changes and pick up on details like delicate blooms or striking rocks. A simple outing becomes an imaginative pursuit. You return with happy memories and photos that share the journey’s story.
Itinerary 1: The Canadian Rockies - Banff National Park
Banff stands out as a top destination for fans of breathtaking scenery. The vivid blue lakes, dramatic snow-capped summits, and lively wildlife present endless creative options. This plan highlights accessible trails that promise big rewards for those who love combining the outdoors with great picture opportunities.
Morning: Sunrise at Moraine Lake
Begin your journey before dawn so you arrive at Moraine Lake ahead of the first light. Due to heavy visitation, the road sometimes closes, so be sure to confirm access with Parks Canada or consider their shuttle service for up-to-date details.
- The Hike: The best viewpoint is not from the lakeshore but from the top of the Rockpile Trail. It is a short, 15-minute uphill walk. The trail is easy and well-maintained.
- The Shot: Set up your tripod on the Rockpile. You are looking for the iconic view of the Valley of the Ten Peaks reflected in the calm morning water. As the sun rises, it will hit the tops of the peaks, creating a stunning "alpenglow" effect. Use a wide-angle lens to capture the entire scene.
Mid-Day: Hike to the Lake Agnes Tea House
After sunrise, make your way to Lake Louise, only a brief drive from Moraine Lake. The busy main shoreline often fills up quickly, so take to the trails for a quieter, more immersive experience.
- The Hike: The trail to the Lake Agnes Tea House is a 2.2-mile (one-way) uphill hike through a dense pine forest. It takes about 1.5 to 2 hours. Along the way, you will pass Mirror Lake, which offers a great view of the "Big Beehive" rock formation.
- The Shot: Once you reach Lake Agnes, you will find a historic tea house nestled by the water. Frame a shot of the tea house with the dramatic peaks behind it. Hike around the lake to find different compositions. A polarizing filter will help reduce glare on the water and make the colors pop.
Afternoon: Johnston Canyon
Travel along the Bow Valley Parkway and explore Johnston Canyon. This area highlights a distinctive blend of water-carved rock and lively stream environments.
- The Hike: An easy catwalk trail is bolted to the canyon walls, taking you over the rushing river below. The walk to the Lower Falls is 0.7 miles, and the Upper Falls is another mile beyond that.
- The Shot: Your goal here is to capture the motion of the water. Use a tripod and a slow shutter speed (this is called a long exposure). This will turn the waterfalls into a silky, smooth blur, creating a dreamy and artistic effect.
Itinerary 2: The Swiss Alps - Grindelwald Area
Switzerland’s Jungfrau region brims with classic high-altitude beauty, where rolling meadows, quaint villages, and ancient ice fields set the scene. Modern amenities make exploring easy, with lifts and cable cars available to help you start your adventures well above the valley floor.
Morning: Bachalpsee Lake
Hop on the cable car in Grindelwald and glide up to First. This quick ride lifts you easily to a higher starting point, making your morning adventure effortless.
- The Hike: The trail to Bachalpsee is a relatively flat, 1.8-mile (one-way) walk. It is one of the most popular hikes in the region for a reason.
- The Shot: On a calm day, the snowy peaks of the Schreckhorn and Finsteraarhorn reflect perfectly in the lake. This creates a beautiful symmetrical image. Get low to the ground to include some of the Alpine flowers in your foreground for added depth.
Afternoon: Männlichen to Kleine Scheidegg Panorama Trail
Ride the gondola from Grindelwald Terminal up to Männlichen. This spot marks the start of one of the region’s most impressive and panoramic walks.
- The Hike: This is an easy, mostly downhill walk of about 3 miles. It takes around 1.5 hours. The entire time, you are walking directly toward the iconic trio of peaks: the Eiger, Mönch, and Jungfrau.
- The Shot: The photo opportunities are constant. Use a zoom lens to compress the landscape, making the mountains look even larger and more imposing behind a chalet or a group of hikers. Keep an eye out for the local cows with their giant bells; they make for a classic Swiss photo.
Evening: Sunset over Grindelwald Valley
Make your way down to town, then wander up to a scenic overlook above the village. Many hillside hotels and paths offer fantastic vantage points.
- The Hike: This is more of a short stroll than a hike.
- The Shot: As the sun sets, the last light will illuminate the infamous North Face of the Eiger. Capture the warm glow on the mountain contrasted with the cool blue shadows in the valley below.
Essential Photography Gear for Hikers
Packing for a photo trek is all about finding the right balance. You’ll want trusty equipment along the way, but it’s just as important to keep your load as light as possible.
The Camera and Lenses
- Camera: A mirrorless camera is a great choice. They are lighter and smaller than traditional DSLRs but offer the same image quality and lens options.
- Wide-Angle Lens: A lens like a 16-35mm is essential for capturing grand landscapes.
- Telephoto Lens: A 70-200mm lens is perfect for isolating details, like a distant peak or wildlife. It also helps with landscape compression.
The Support System
- Tripod: A lightweight travel tripod is non-negotiable for sunrise, sunset, and long-exposure shots. Look for one made of carbon fiber to save weight.
- Camera Clip: A clip that attaches to your backpack strap is a game-changer. It keeps your camera accessible so you don't miss a shot while fumbling in your bag.
The Extras
- Polarizing Filter: This filter screws onto your lens. It reduces glare, darkens blue skies, and saturates colors. It is the single most useful filter for landscape photography.
- Extra Batteries: Cold weather drains batteries quickly. Always carry at least one spare.
- Lens Cloth: You will constantly be cleaning dust and water spots off your lens.
Quick Photography Tips for the Trail
You don’t need to master every camera setting to capture compelling images. Try these straightforward ideas to improve your pictures on the trail.
- Shoot During the Golden Hour: The hour after sunrise and the hour before sunset provide the best light. The light is soft, warm, and creates long, dramatic shadows. Avoid shooting in the harsh midday sun.
- Look for a Strong Foreground: A great landscape photo often has three layers: a foreground, a middle ground, and a background. Find something interesting to put in the foreground, like a patch of flowers or a cool rock. This draws the viewer into the image.
- Rule of Thirds: Imagine a tic-tac-toe grid over your scene. Place your main subject (like a mountain peak) on one of the intersecting lines, not directly in the center. This creates a more balanced and visually interesting composition.
- Use Leading Lines: Find natural lines in the landscape, like a trail, a river, or a fence. Use them to lead the viewer’s eye through the photo toward your main subject.
Blending nature walks with picture-taking is an enjoyable way to experience the outdoors and spark your creativity.
All articles published on FindMyResort are created for informational and editorial purposes only. Readers are encouraged to verify details directly with resorts, hotels, or official tourism sources before making travel decisions. FindMyResort is not affiliated with, endorsed by, or officially connected to any resort, hotel brand, or tourism authority unless explicitly stated.